HI Madam Lydia
This is my assignment for the overall tutorial 1 until 5 which i combine all i have learnt so far.........


This are the images i use for my Assignment 1.............

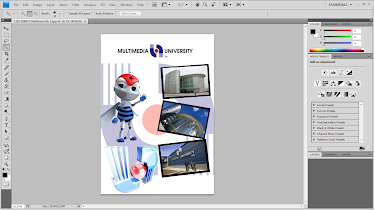
This picture only i edited for my assignment 1.....

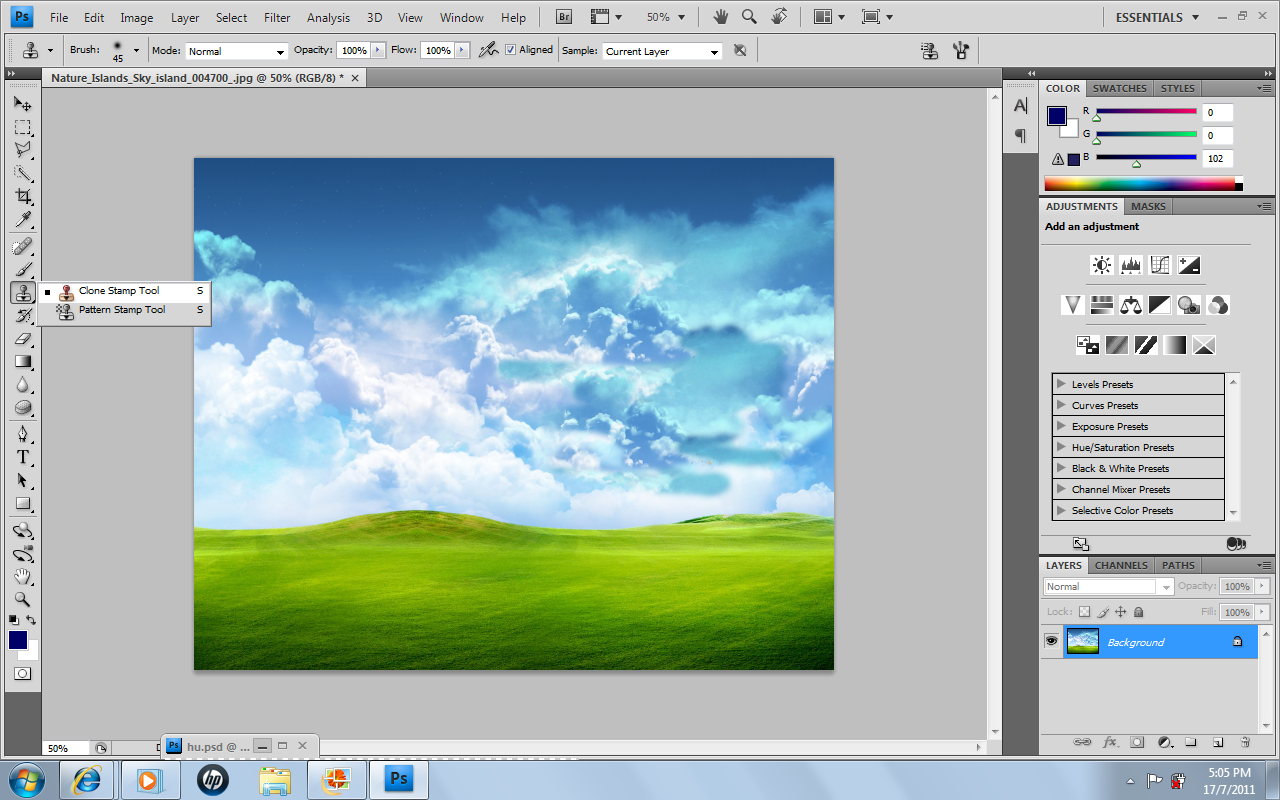
First i use three types of background....1st use the natural image i edited the picture by using stamp tool and spot healing tool....then i take another background and put it in the 1st background and then i change the opacity and then for the 3rd backgroung i open a new page and then use gradient tool with a nice colour and drag and put it in the 2nd background then i also change the opacity....then it shows a nice colour differences.


Then i uce clone stamp tool to make the E-bee to look a reflection and also use filter tool and change the E-bee.....


Then i use MMU logo to put on the FOM board and then the both FOM board and MMU logo i use Filter tool to make a difference....ant then use type tool to write MMU adress and phone number...........

Then i took the picture from google tells that the stages of goal and at last stage i edited the stage by using clone stamp and put MMU wording by using type tool.


Hmmmmmmmmm this is my Final look of my E-wallpaper which is my Assignment 1....i really enjoyed doin this its really fun......
TUTORIAL 1
STEP 1
Firstly i search this MMU logo from google..after that i drag the picture to new page and transform it...
STEP 2
Than i used MMU logo as my background...first i zoom the picture and use opacity to make it the picture brighter
STEP 3
I took the pictures and use the quick tool and magic tool to edit the picture and then drag and slot in. Then i change the picture to left and right to decorate it.
STEP 4
I took this picture and use quick tool to crop the picture and slot in and transform to a bigger size
STEP 5

This is the last picture to slot in which is the MMU Macrot i did this with using quick tool and magic tool to crop the Macrot picture only. Then i drag and slot.
Final Look
Step 1

First I open a blank sheet of paper and change the size and then took the picture from Google images of FOM building and then drag it to the blank sheet and then adjust according to the design i wanted, then i put the opacity to 75% and make the picture brighter.
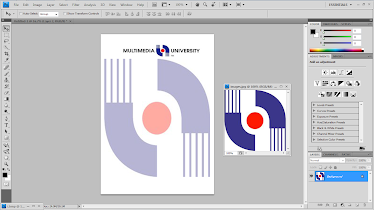
Step 2

I open another blank sheet which sized A4 then I used Gradient Tool to make the page look nice and also crop the MMU Mascot and put it
Step 3

Then I use ‘T’ tool to form the text and then I change the colour into black then put in the centre and then take MMU logo to put it on top of the text and then I change the opacity to make it brighter.
Step 4

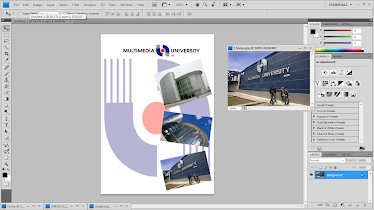
I take FOM picture and then use the quick tool to crop the FACULTY OF MANAGEMENT board and then put it in my page sheet.
Step 5

Then I took a graduation picture of MMU student and crop and drag it and put in next to the FOM Board.
Step 6
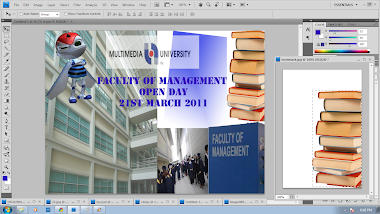
I took the picture of business studies books and then use the quick tool and crop and put it in the page to show it more attractive for the open day concept.
Step 7

Finally I crop the picture of FOM building and then put it left side of the page sheet by also using quick tool.
Step 8

FINALY THIS WHAT I DID FOR MY SECIND TUTORIAL
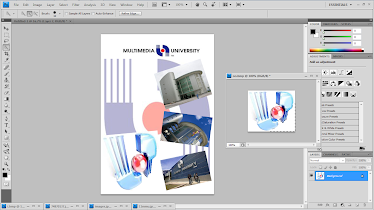
Final Look


First i took a picture from google and then i use it as my backgroud and then i use clone stamp tool to make the small image in the picture to disappare from the original picture.

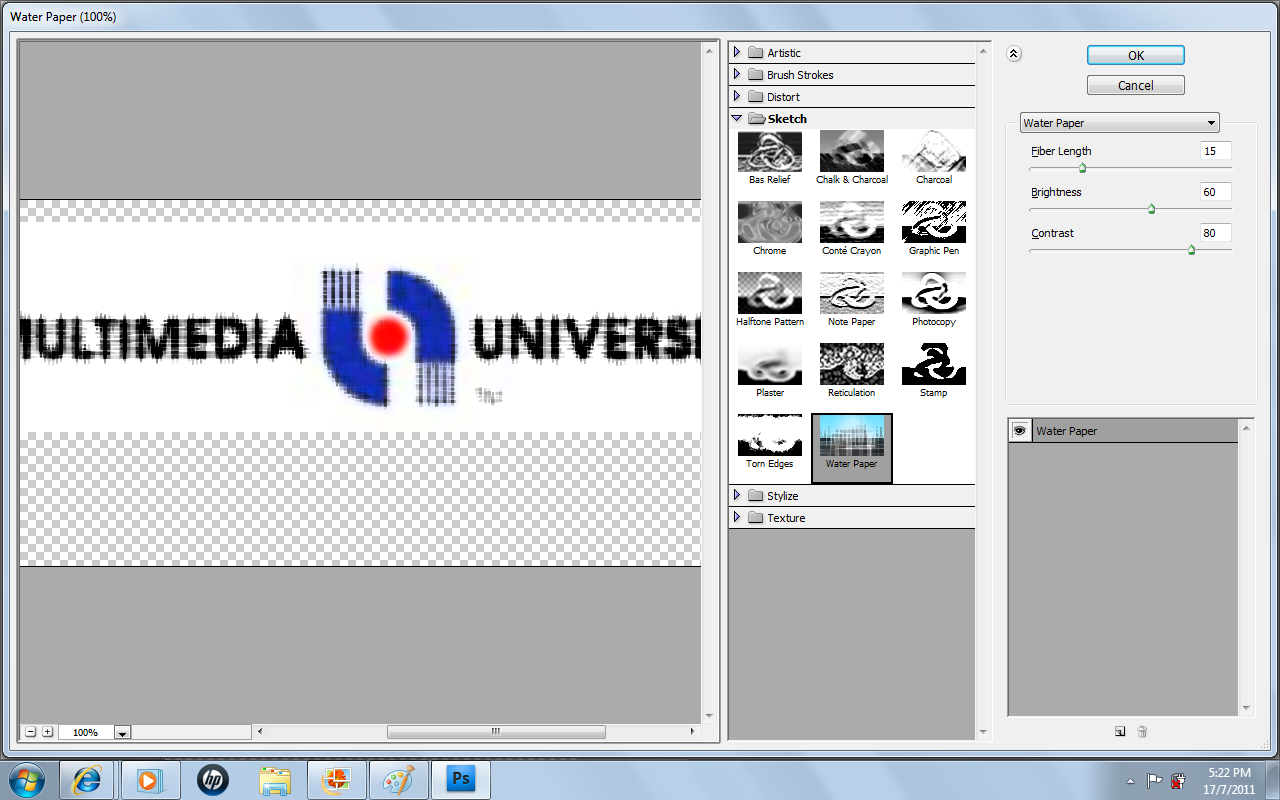

I took FOM board and crop it and then put MMU logo on the board and then i change the logo to Plastic Wrap under Filter.
Then i crop a picture of Graduation students at MMU then i put it at the centre of the sheet.

I took picture of books from my second tutorial and crop it and put it on top of FOM board image by using quick tool.

Then i use Type tool to do the writing and adjust the writing by using free transform.


Then i choose Image>then choose Adjustment> then select Hue/Saturation to change the colour of the entire picture.


This the final look hope it is nice.....hehehehehe...this what i learn so far......
Thank You............:-)